How to Create Custom Audio Clips and Custom Audio Blocks
Last updated: May 29, 2026
Add in your own custom audio with this amazing feature!
If you’re a member on the Growth Plan or higher, then you can create Custom Audio Clips and Custom Audio Blocks for any audio you want to dynamically insert in your episode(s).
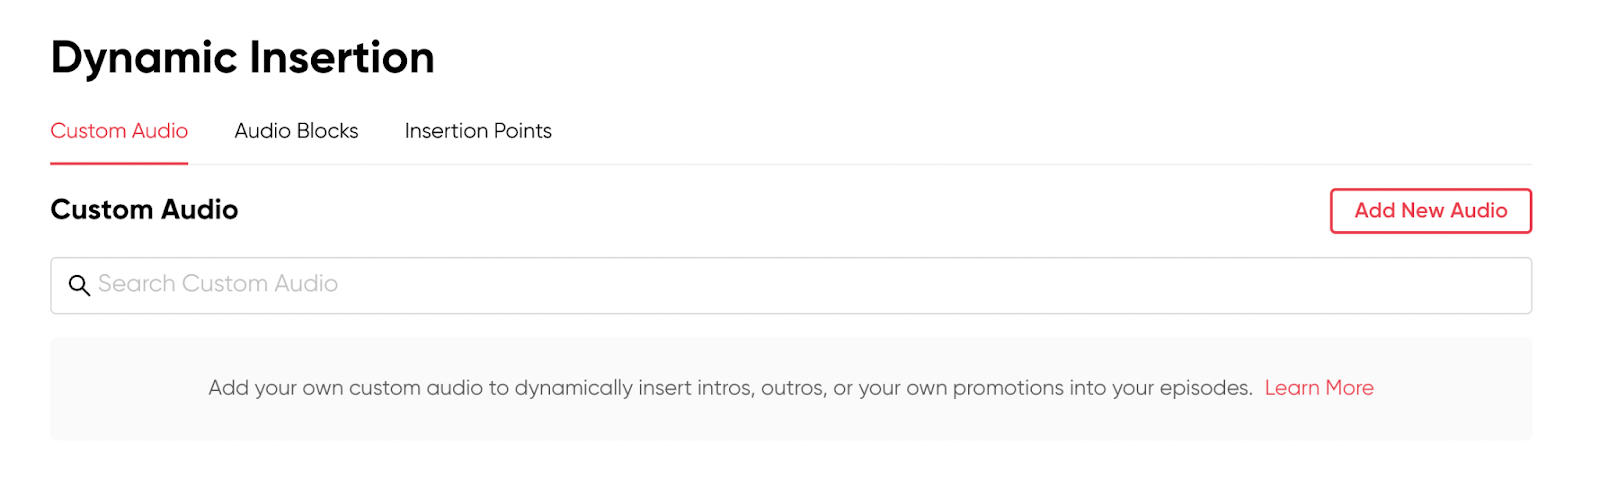
Navigate to the Dynamic Insertion page to get started. You should notice two tabs near the top: Custom Audio and Audio Blocks.
Create Custom Audio Clips
To create a custom Audio Block, you first need to create Custom Audio. Click on the red Add New Audio button near the top-right side of the page. The audio creation widget should pop up on the right side:
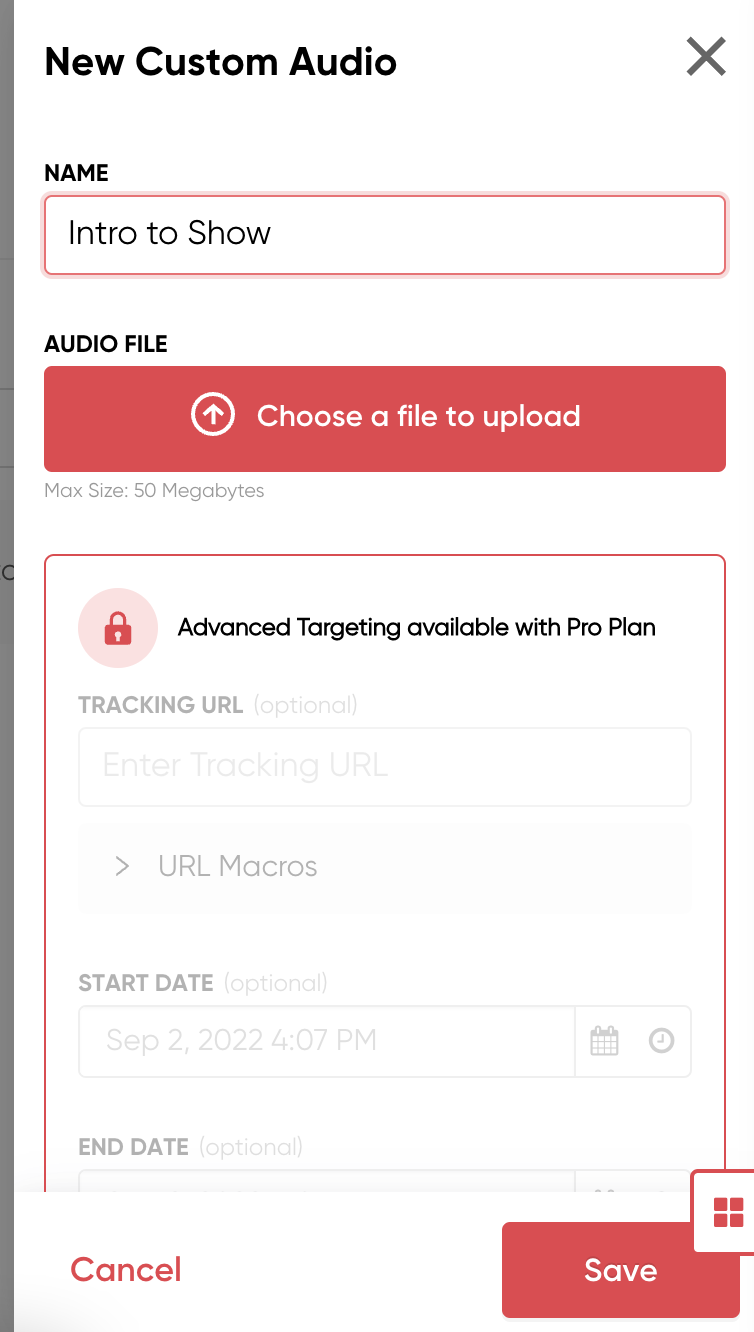
Members on the Pro and Enterprise Plans are able to add Tracking Pixel URLs, set Start and End Dates, and input a Download Cap:
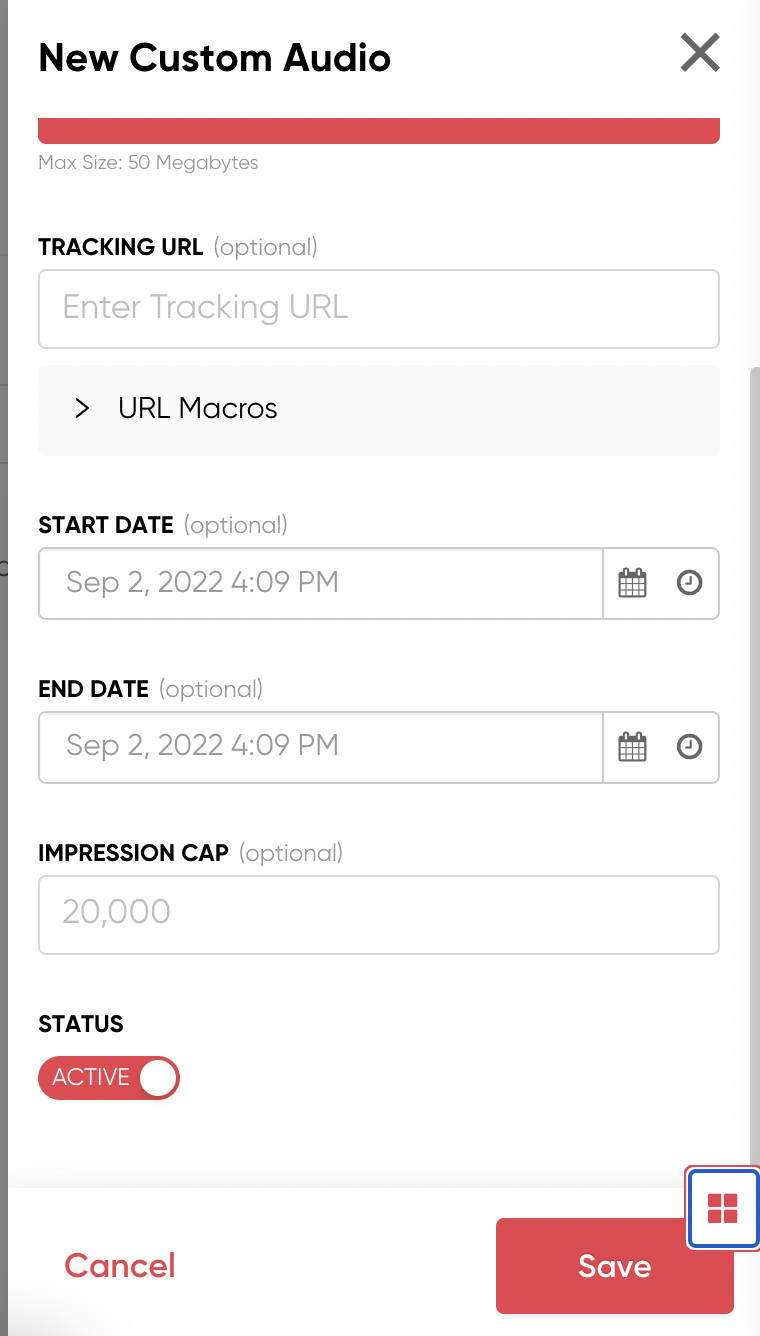
A Tracking URL is a link from a third-party company that helps you to track your campaigns. The Start Date and End Date allow you to set a start and/or end date for a campaign. And an Impression Cap allows you to set a specific number of “impressions” (amount of times the audio is heard in your show) that the campaign needs to meet before ending.
Don’t forget to click Save so the audio clip is created!
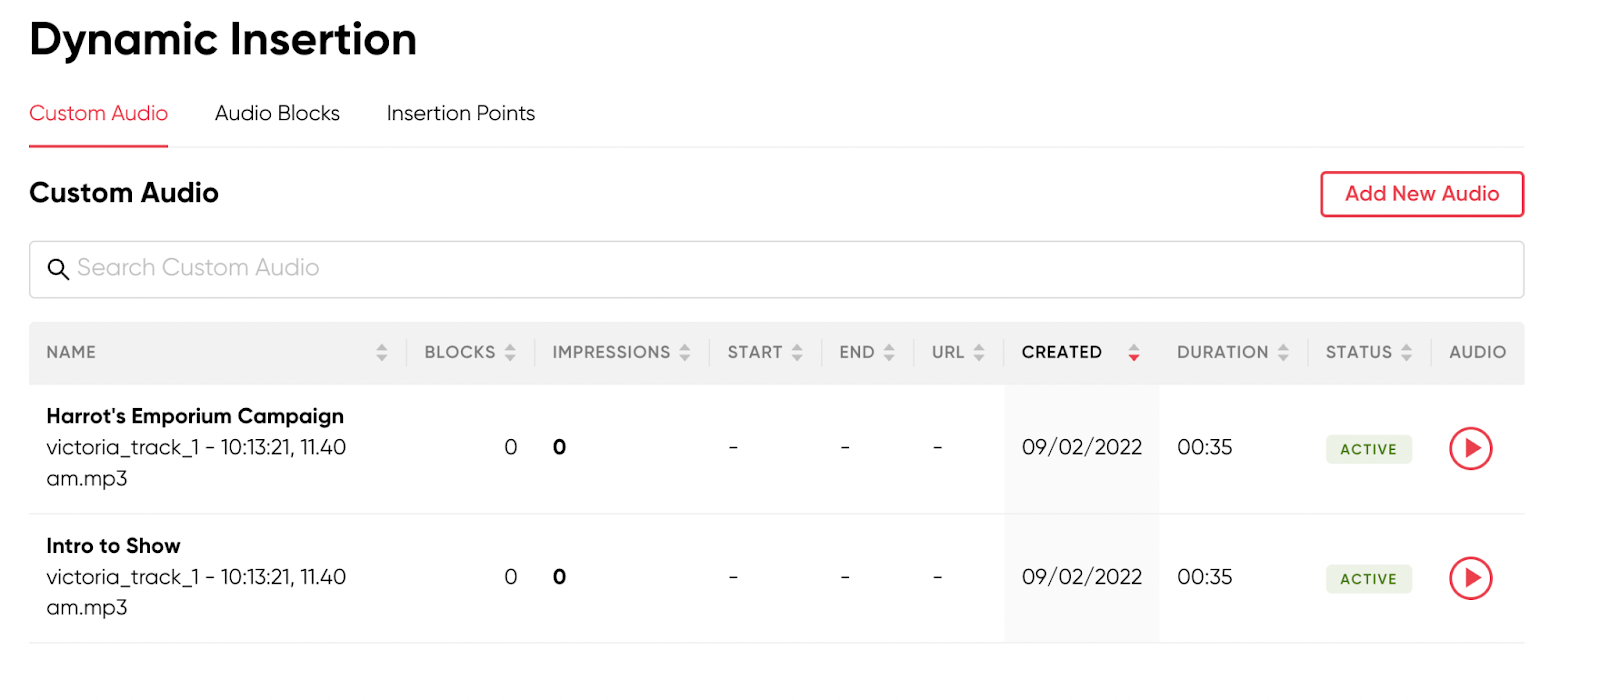
Custom Audio Clips always populate in your personal Custom Audio Library:
Once the Audio Clip is created, the next step is to assign it to a custom Audio Block! But first, you need to create one.
We also have a video demonstrating how to create your very own custom Audio Clips!
Create Custom Audio Blocks
Similar to the Custom Audio page, simply click on the red Add New Audio Block button located near the top-right:
The Audio Block creation widget should pop up on the right side of the screen. Enter the name of the Audio Block, add the desired audio clip, and select the desired play style.

A play style controls the order in which 2 or more Audio Clips are played within that Audio Block. You can set it up be “in order”, meaning the clips are played sequentially until the ‘play up to’ number is reached. Or, you can set it to “random”, meaning the clips are played in a totally random order until the ‘play up to’ number is reached.
‘Play up to’ refers to the number of Audio Clips that are played within the Audio Block. You can set it for 1, 2, or more. We don’t recommend adding more than 3 Audio Clips to an Audio Block at maximum. You don’t want to overwhelm your listeners with a ton of back-to-back ads and/or promotional clips!
You also have the option to add Fallback Audio, which is an Audio Clip that plays should the desired Audio Clip not be available.
Always be sure to click that Save button before exiting!
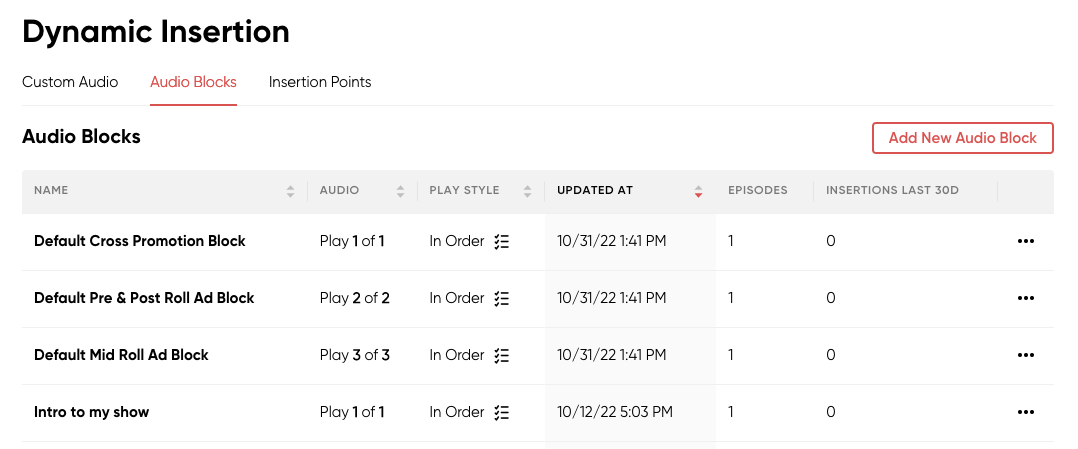
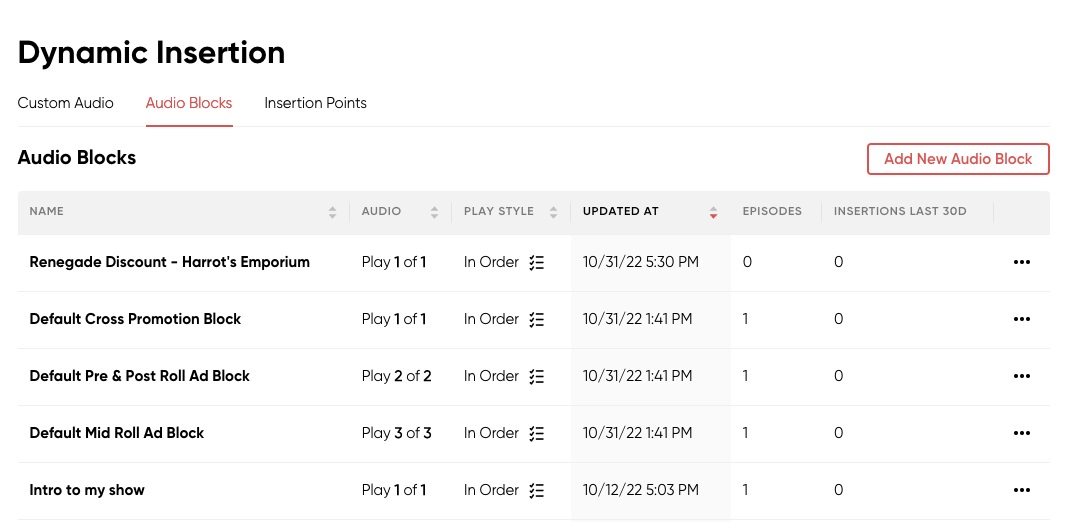
The newly created Audio Block should then populate on the Audio Blocks tab:
We also have a video demonstrating how to create your very own custom Audio Blocks!
Assign Audio Blocks to Insertion Points
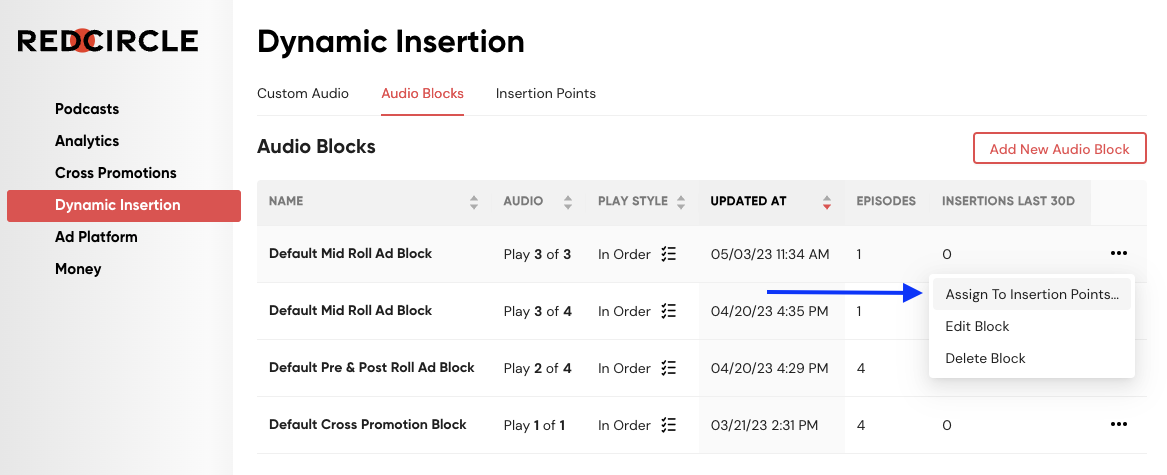
The final step is to assign the Audio Block to one or more of the episodes of your podcast. To do so, navigate to the Audio Blocks tab and click on the three dots (...) next to the desired Audio Block. Select Assign to Insertion Points from the drop-down menu:
This brings up the Bulk Assign window, which allows you to assign one Audio Block to multiple Insertion Points. Select your show from the drop-down menu:
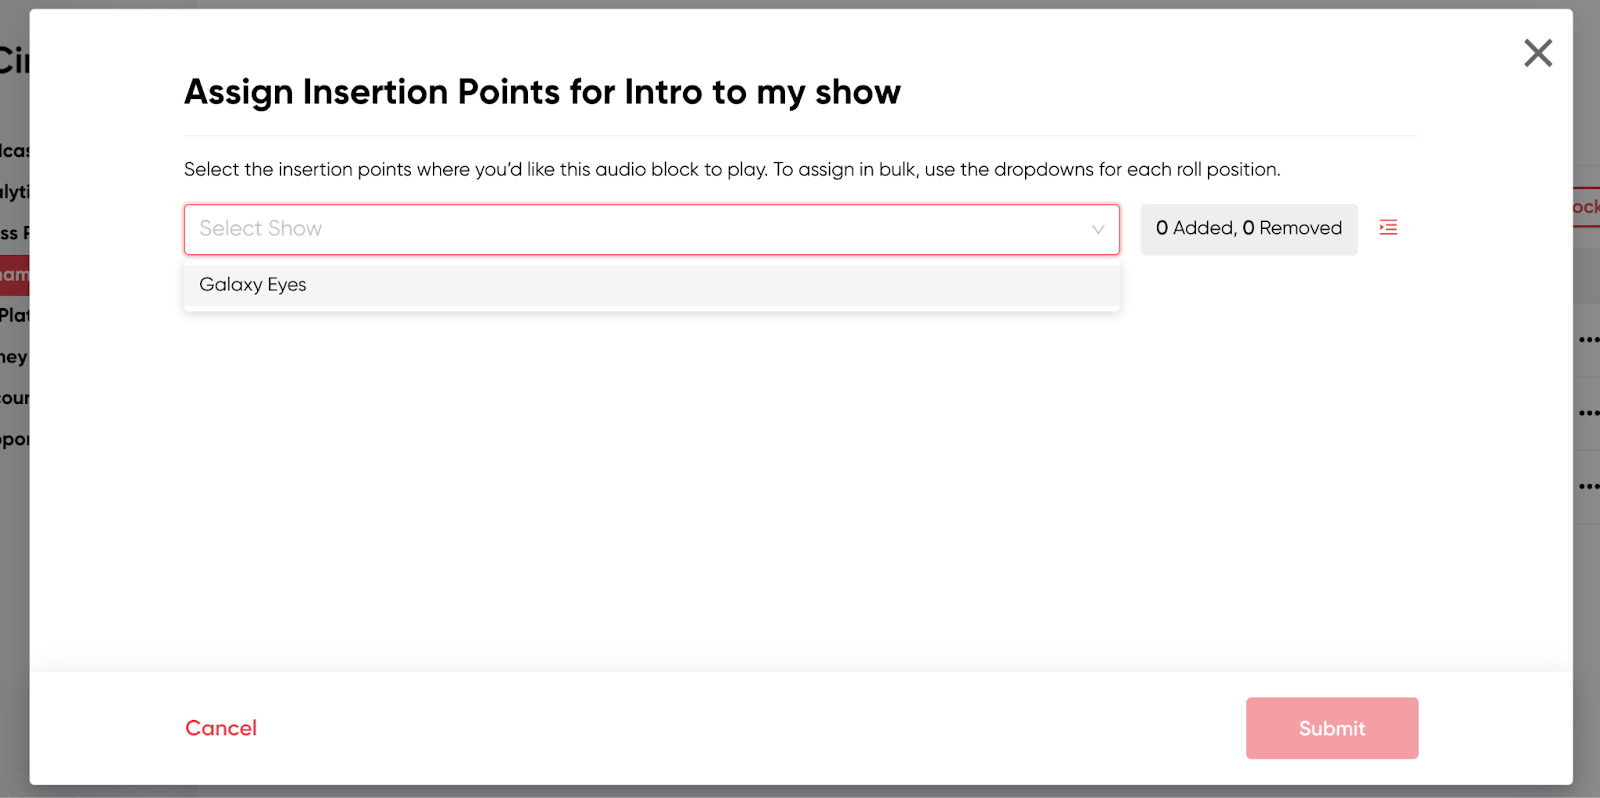
Then assign the Audio Block to whatever Insertion Points you want!
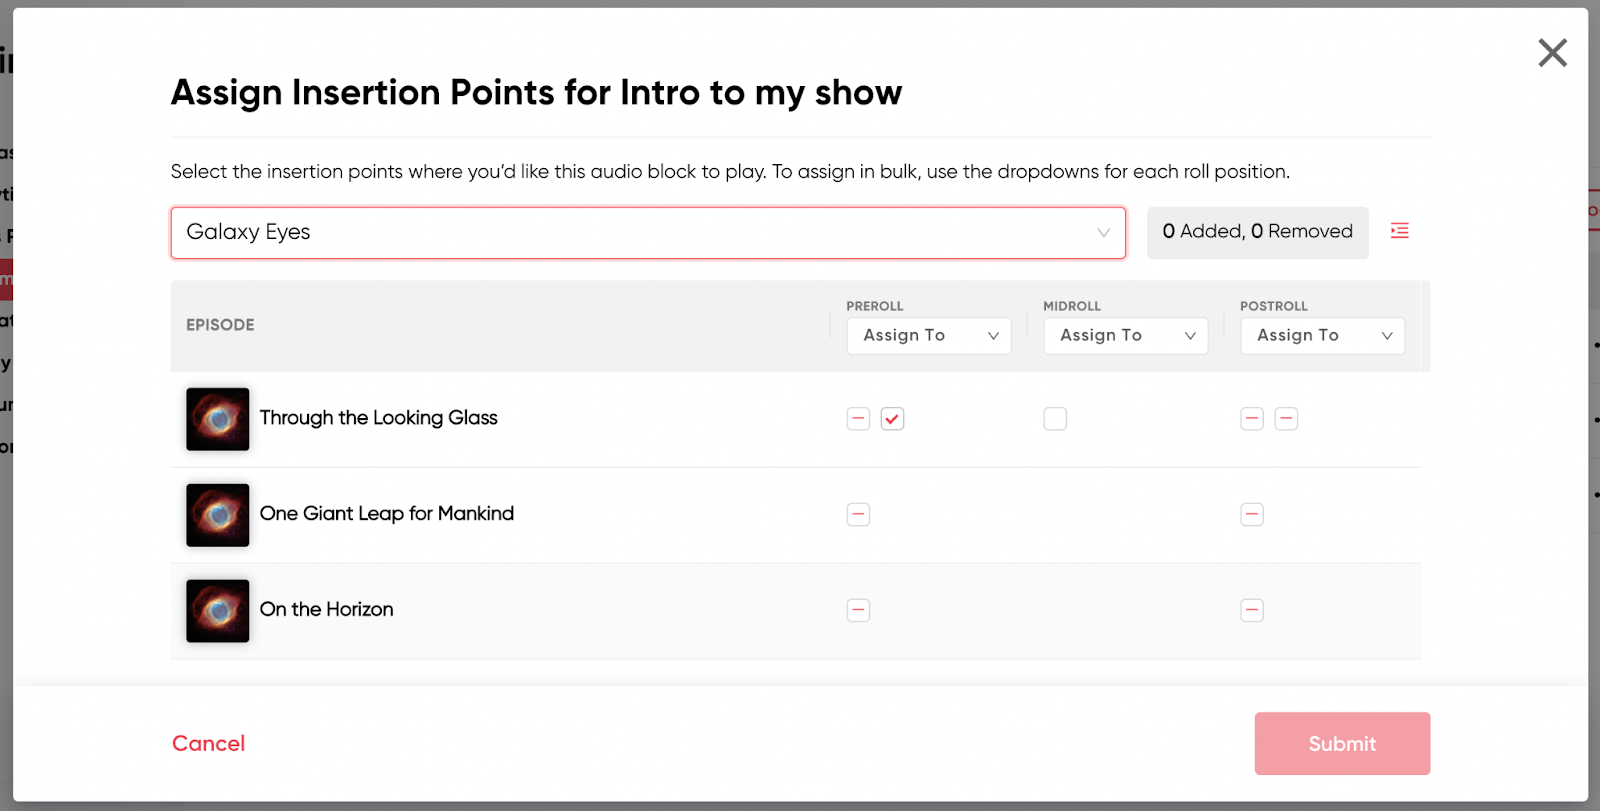
Be sure to click on the red Submit button to finalize and save your Insertion Point selection.
You can learn more about Bulk-Assigning Audio Blocks in this Help article.