How to Edit Insertion Points
Last updated: May 29, 2026
Learn how to make changes to existing Insertion Points
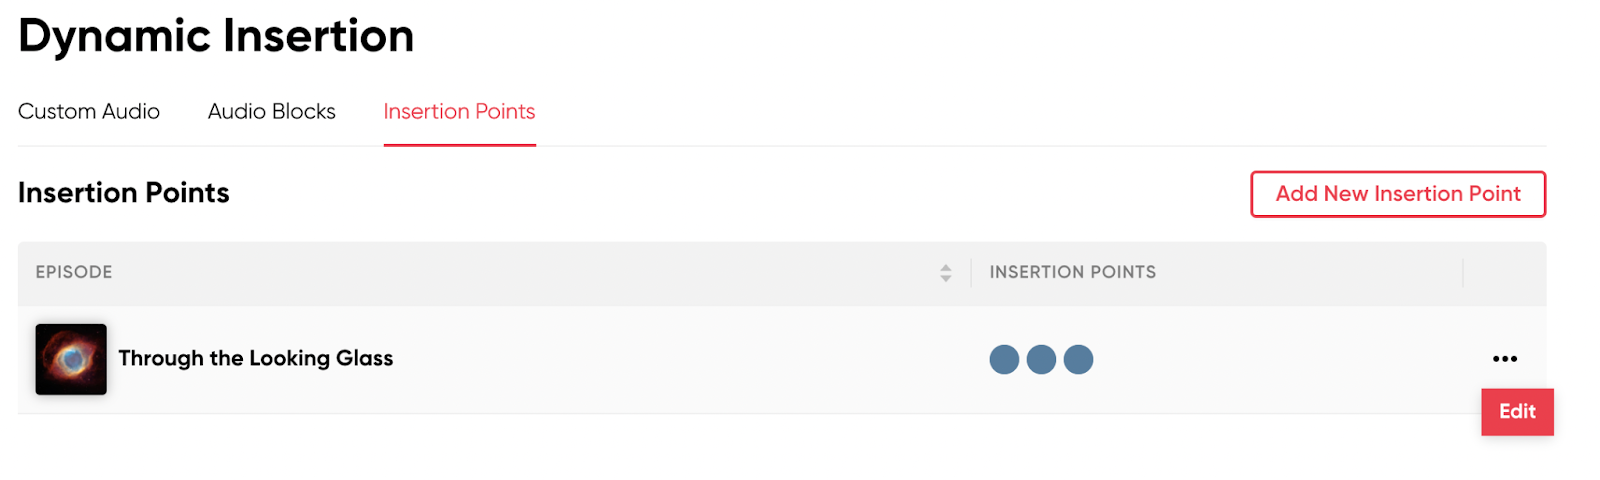
Need to make some changes to Insertion Points? Then look no further! You can edit any and all Insertion Points with our Insertions Point Editor. To find this editor, simply navigate to the Dynamic Insertion page and click on the Insertion Points tab near the top. From there, click on the 3 dots (...) to the right of an episode and select Edit:
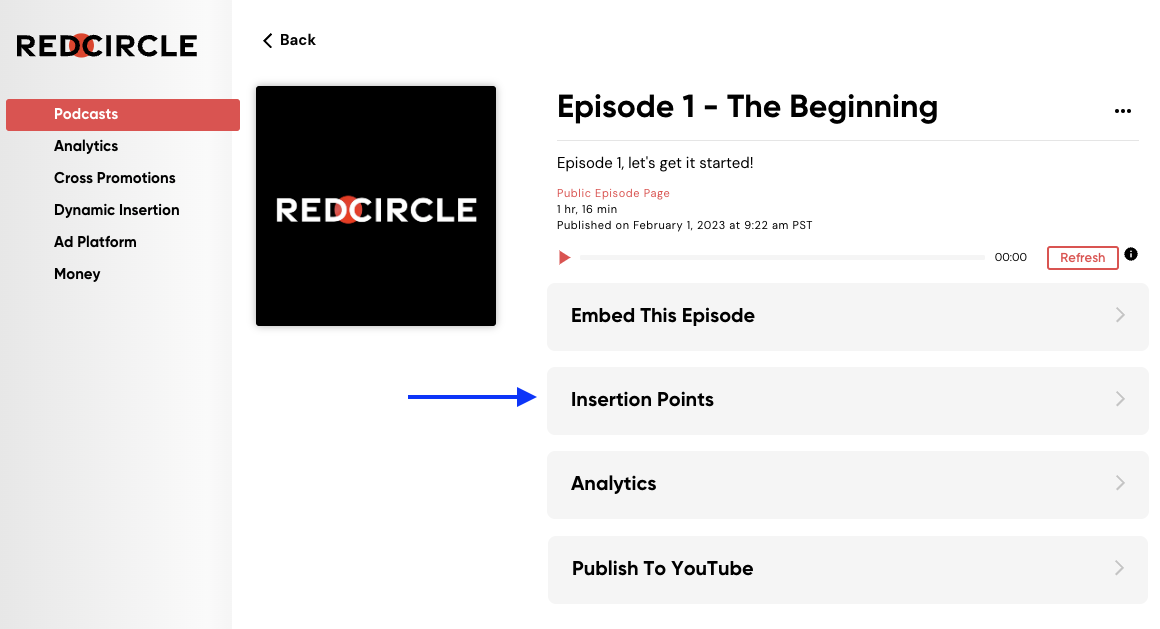
You can also edit the Insertion Points for specific episodes by navigating to that episode’s page and selecting the gray Insertion Points box:
You can edit the placement, Audio Block assignment, and even delete Insertion Points in the Insertion Points Editor:
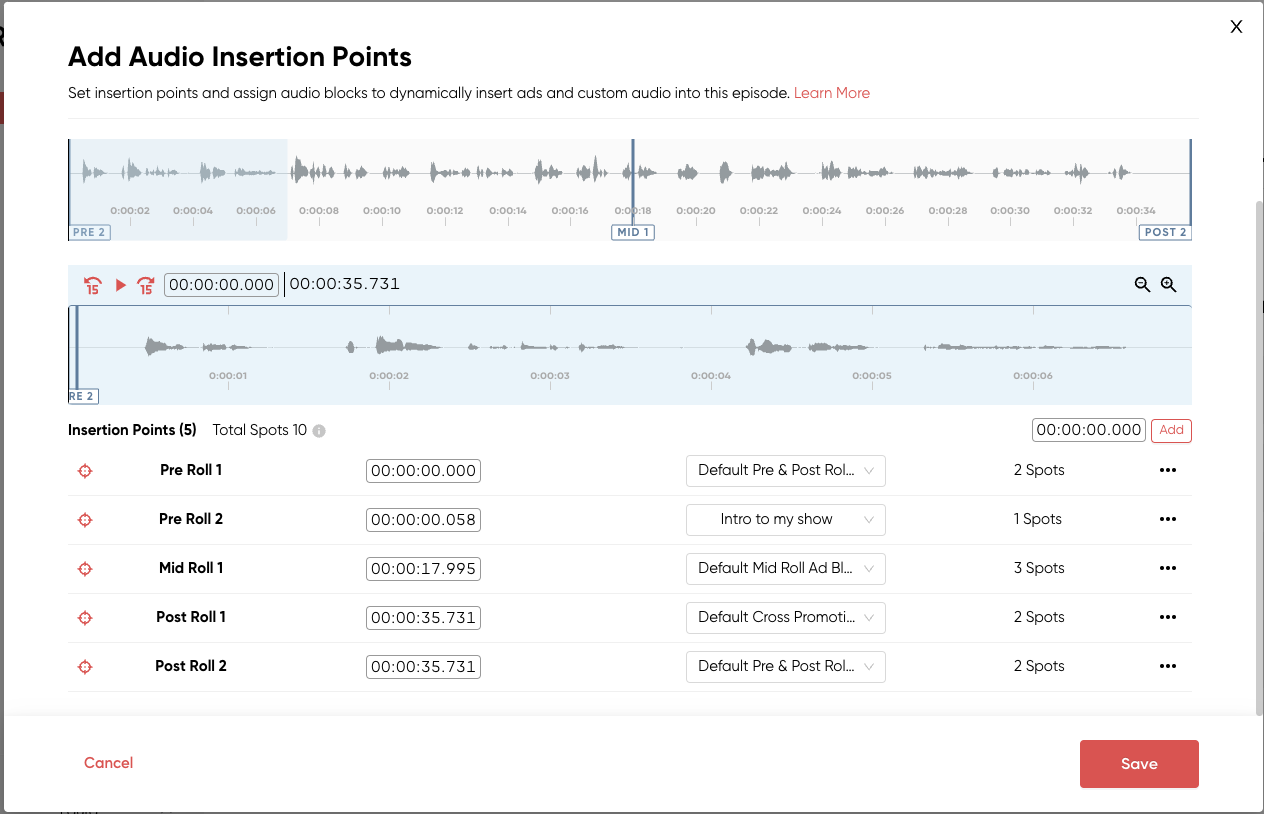
If you’d like to change the placement of an Insertion Point, simply drag the Insertion Point in either waveform. The top waveform is the entirety of your episode, while the bottom waveform is the zoomed in, or zoomed out, version of your episode. You’ll notice a blue highlight shrink and expand on the top waveform if you zoom in or out on the bottom waveform.
You can also change the placement of an Insertion Point by entering the exact time in the timestamp text field directly next to the Insertion Point title. For example, for an ad break after your intro, you could put 00:01:30.00 to have an ad play at the one minute 30 second mark.
If you need to change the Audio Block assigned to that Insertion Point, then click the Audio Block drop-down box and select the Audio Block you wish to play at that timestamp.
If you want to change an Audio Block assigned to multiple Insertion Points, then you need to use our Bulk Assign feature. See this help article for detailed instructions.
If you need to delete an Insertion Point, then click on the 3 dots (...) at the very right of the page and click Delete Insertion Point:
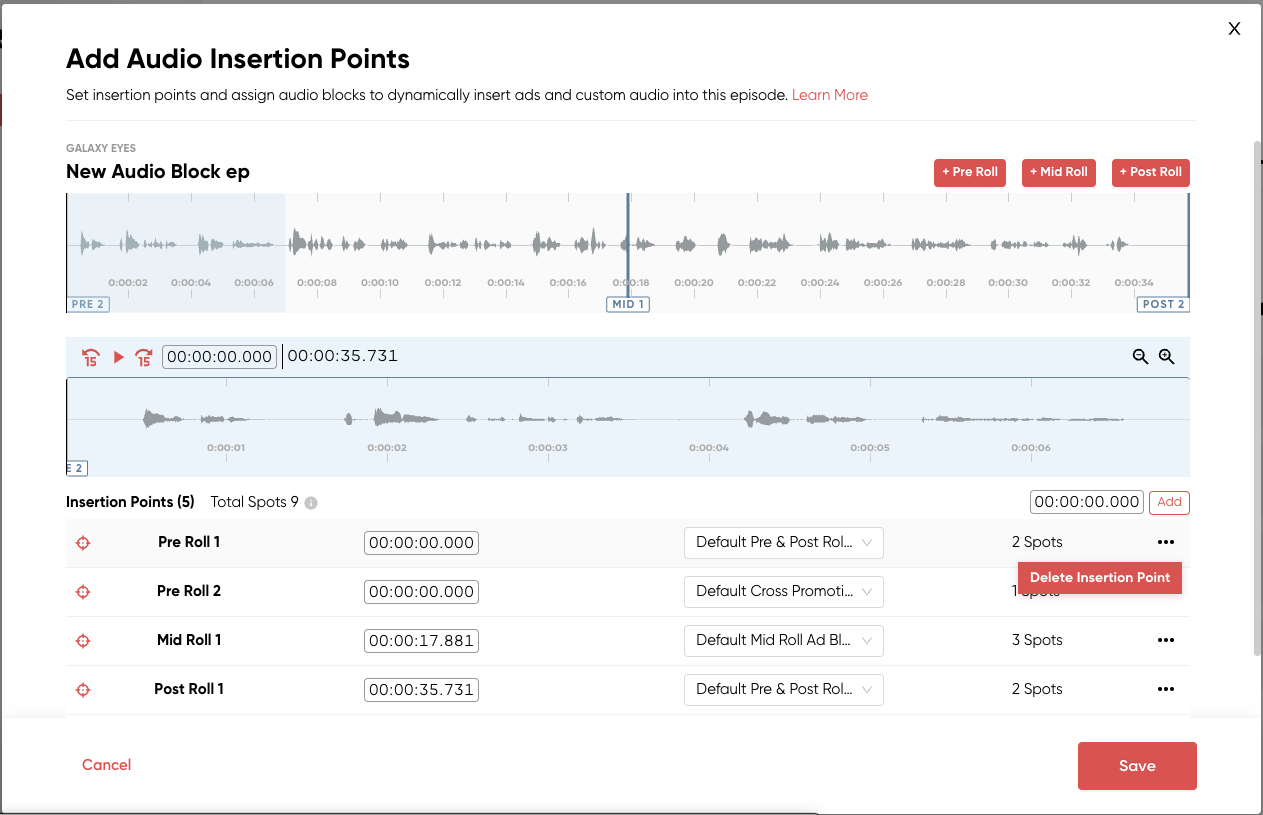
The Insertion Point then disappears from the waveforms and Insertion Points list.
Don’t forget to click the Save button to ensure your changes are made!